
When my Simply Creative papers and embellishments arrived from Trimcraft I looked through all the papers with the new Trimcraft First Edition dies beside them and thought this was a lovely combination :)
I have added all the steps below to show how I made this 3 fold card fit for a little Princess!
You will need:
Dovecraft white polka dot embossed 6x6 card
Trimcraft Simply Creative "Happy Days" 6x6 paper pad
Trimcraft First Edition dies - Pinking Edge Nesting
Trimcraft First Edition dies - Princess
Trimcraft First Edition dies - Wedding
Trimcraft First Edition dies - Weather
Dovecraft Glitter Glue - Crystal
Trimcraft Simply Creative Paper Blossoms (white)
Trimcraft Simply Creative Heart Buttons - (pink)
Trimcraft Simply Creative Round Gems (pink and purple)
white card
double sided tape
Dovecraft Crafters Glue
die cutting machine
How to make it:
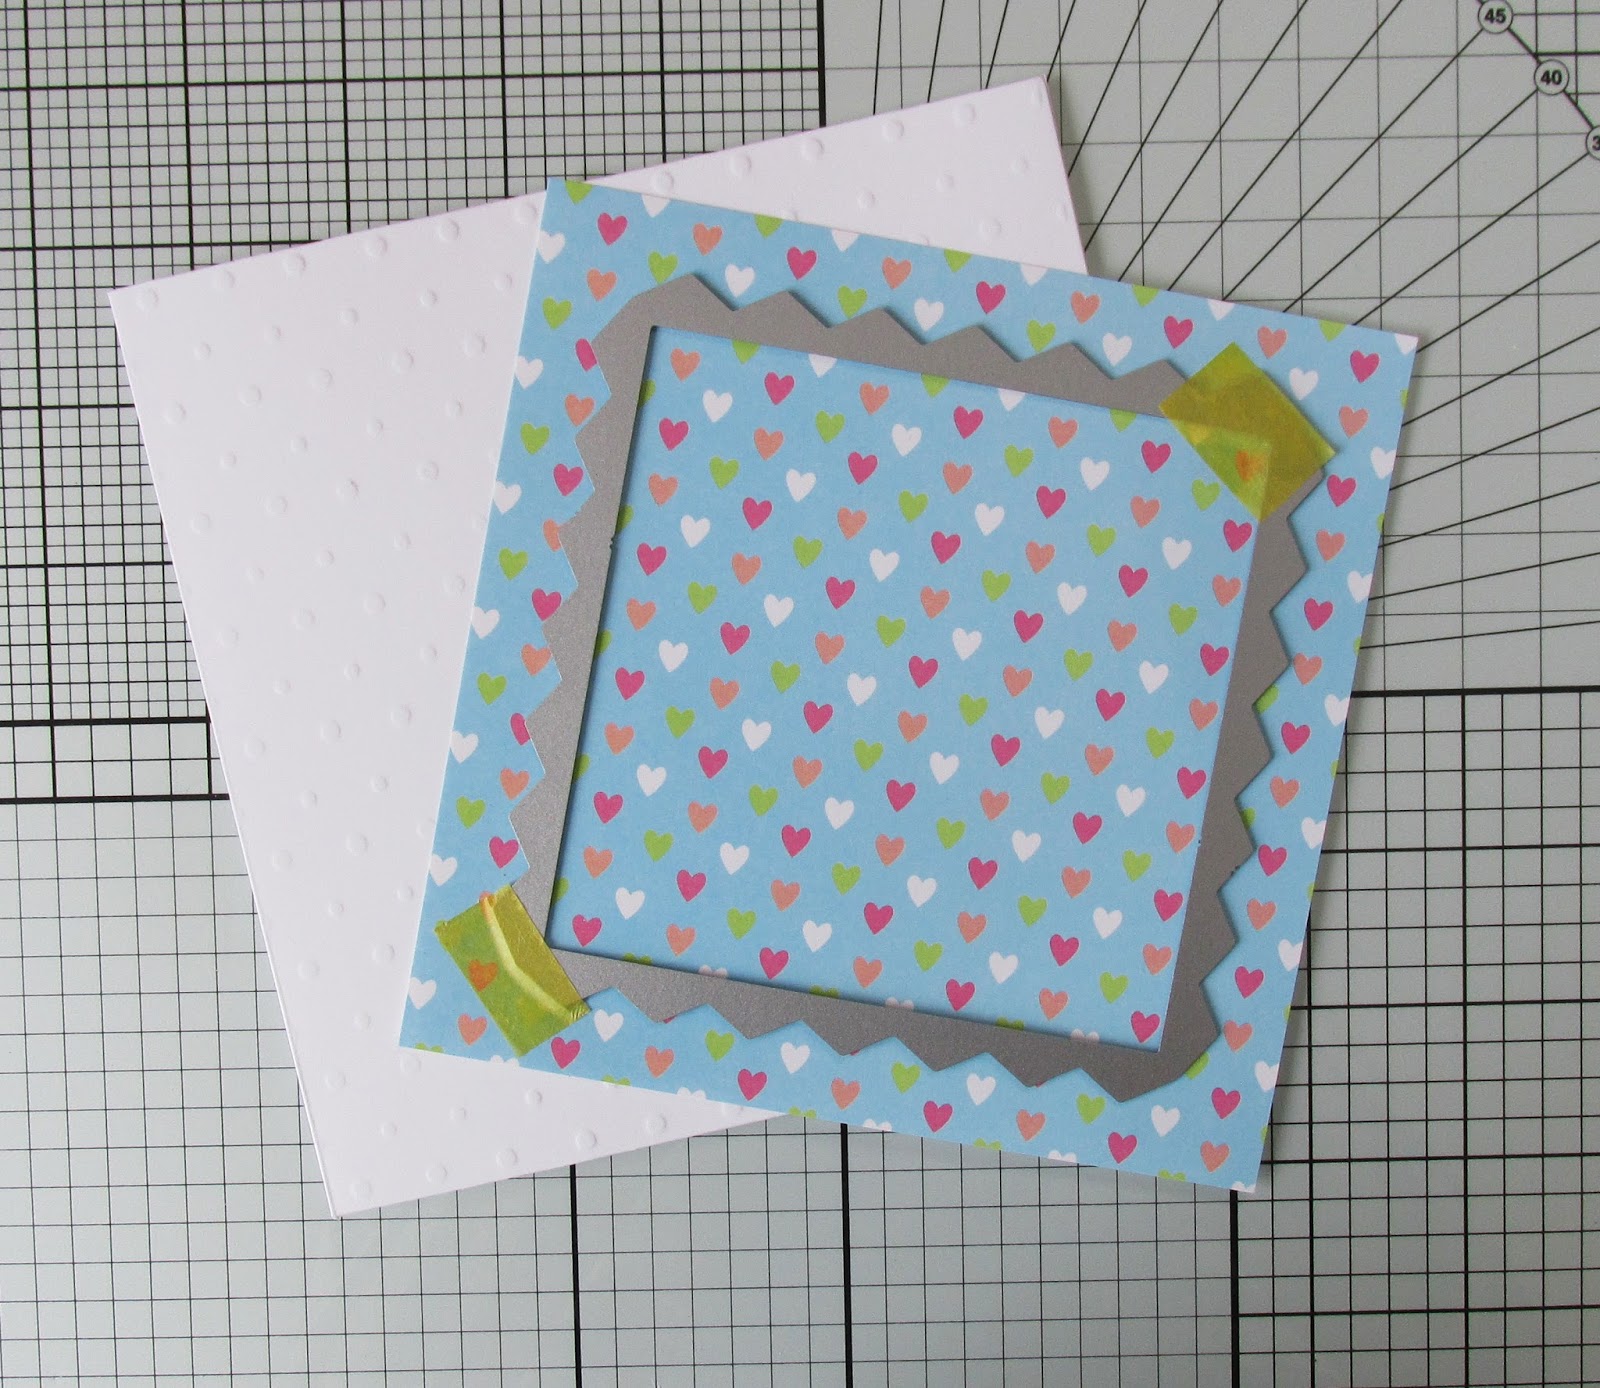
1. Cut a piece of heart patterned paper to measure 14cm x 14cm and use the largest Pinking Edge nesting die to cut out the centre of the paper. *Reserve this inner shape to use on the inside of the card.

2. Glue the resulting "frame" to the centre of the card front. Use the next smallest die to cut out the centre of the card.

3. Cut a piece of white card to measure 15.24cm x 16.24cm (6"x 6.4 ") and score at 15.24cm.

4. Add double sided tape and attach the folded to the back of the card .

5. Take the first nesting shape which you cut and *reserved and glue it onto the centre of the flap which you have just created. Use the next smallest die from the nesting set to cut out the centre of the card and paper together.

6. It will then look like this.

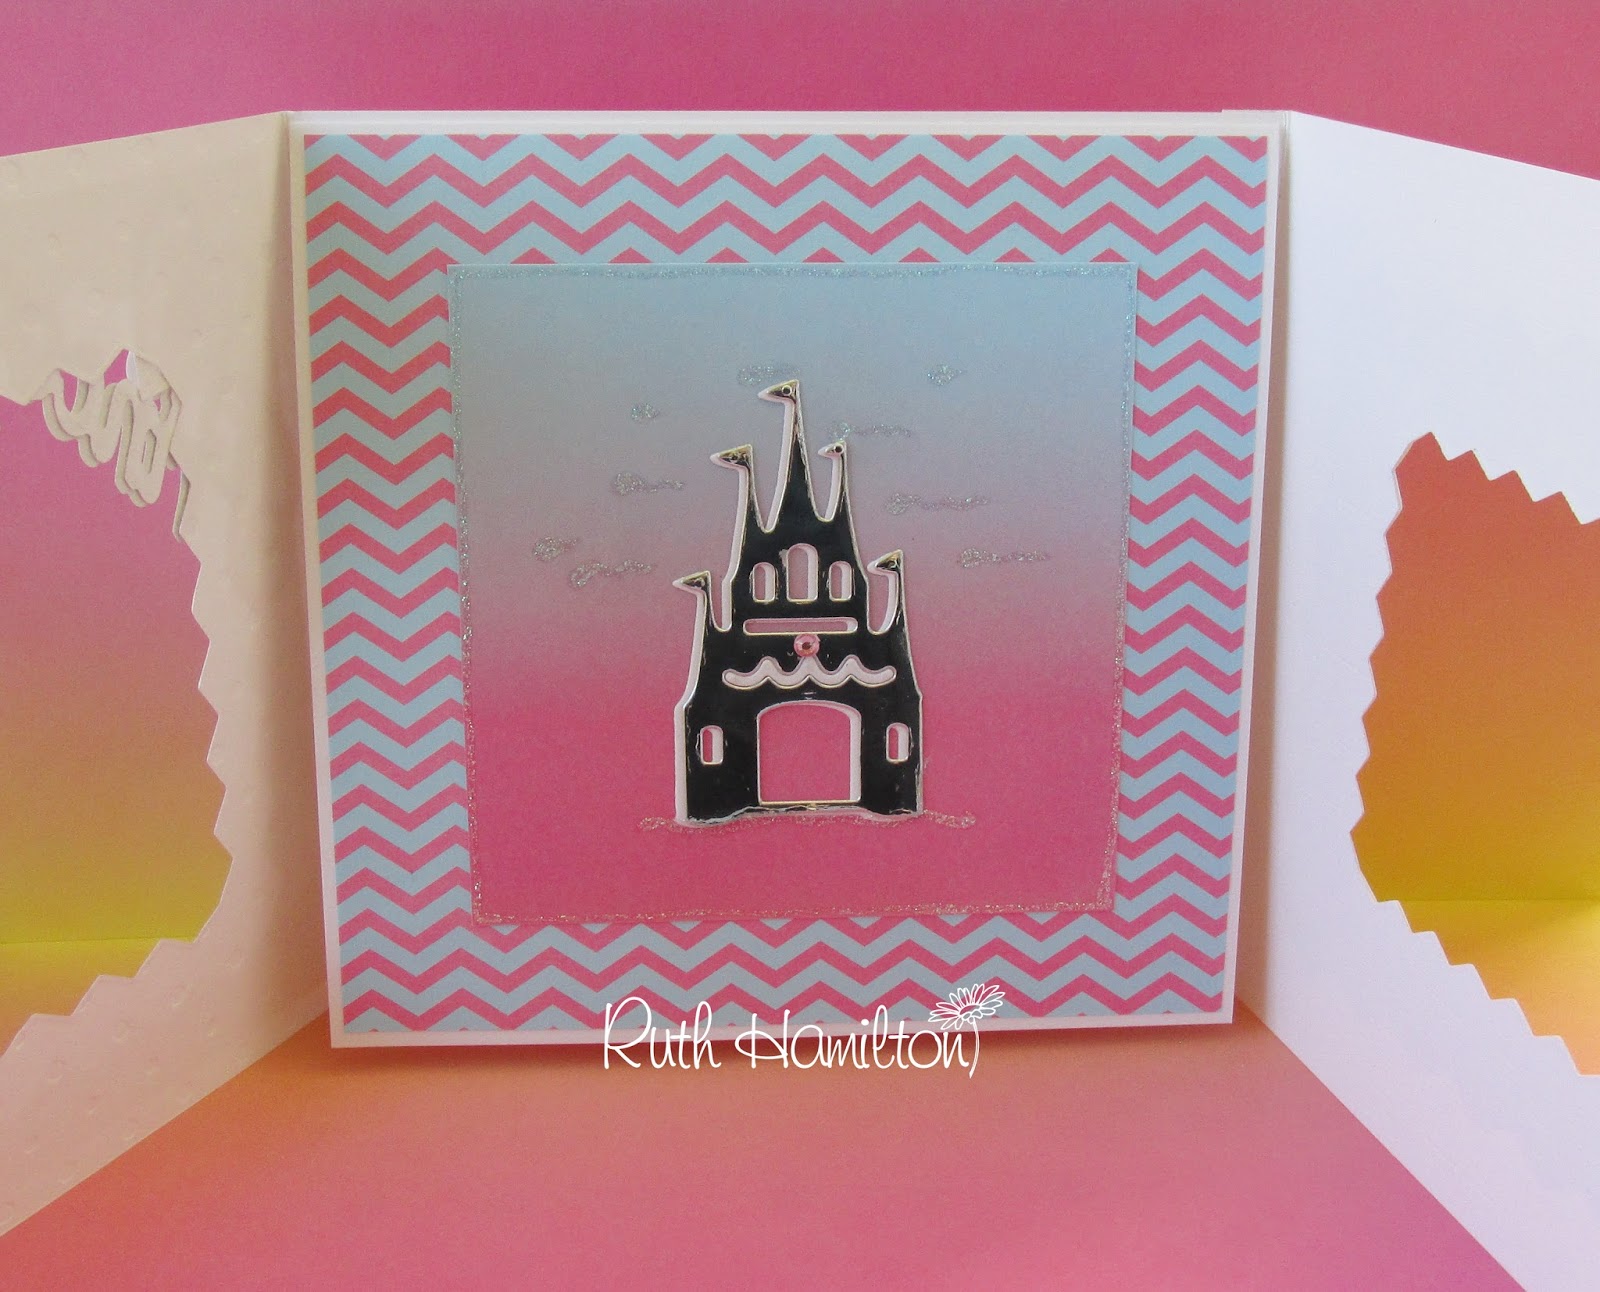
7. Cut another piece of white card to measure 15cm x 16cm and score at 15cm. Attach it to the inside of the card with double sided tape at the top to create a flap which will open from the bottom.

8. Cut a piece of zig zag paper measuring14.5cm x 14.5cm and attach to the centre of the flap with double sided tape. Cut a piece of ombre paper measuring 10.5cm x 10.5cm and attach to the centre of the zig zag paper. Die cut two castles from the Princess die set - one white and one silver. Glue the silver one on top of the white one slightly offsetting so that the white one is showing as a "shadow". Glue to the centre of the paper. Glue the little white scalloped line back into place on the sliver die cut. Add glitter glue around the edges of the ombre square, below the castle and add little lines at the top to resemble clouds.

9. Die cut the unicorn from white card and glue to the front of the left flap so that it overlaps the aperture. Add glitter glue to the mane and tail.

10. Die cut a cloud from the Weather die set and glue to the front of the card at the top right so that it overlaps the aperture.Add some glitter glue.

11. Die cut the "Princess" from white and silver card and glue the silver on top of the white - slightly offsetting. Glue this across the top left of the card front. Die cut the heart from the Wedding dies from white card and glue the outer part above the "Princess" Add a white paper blossom with a heart button in the centre. Finish with a round gem.

12. Add three more paper blossoms at he bottom right of the card front with buttons and gems in the centre.

Thank you for sharing this tutorial it is really appreciated
ReplyDelete