
The image used on the card is Butterfly 1 from my digi collection at A Passion for Stamps.
This "strip" punch creates such a beautiful delicate pattern that I thought it would be lovely used as the centrepiece so I have chosen contrasting colours for the card and matted the butterfly circle on white for impact.
The butterfly border strip looks great used as a straight border but I wanted to share this circle idea with you.
 |
| 1. You'll need a circle of cardstock measuring 11.5cm diameter |
 |
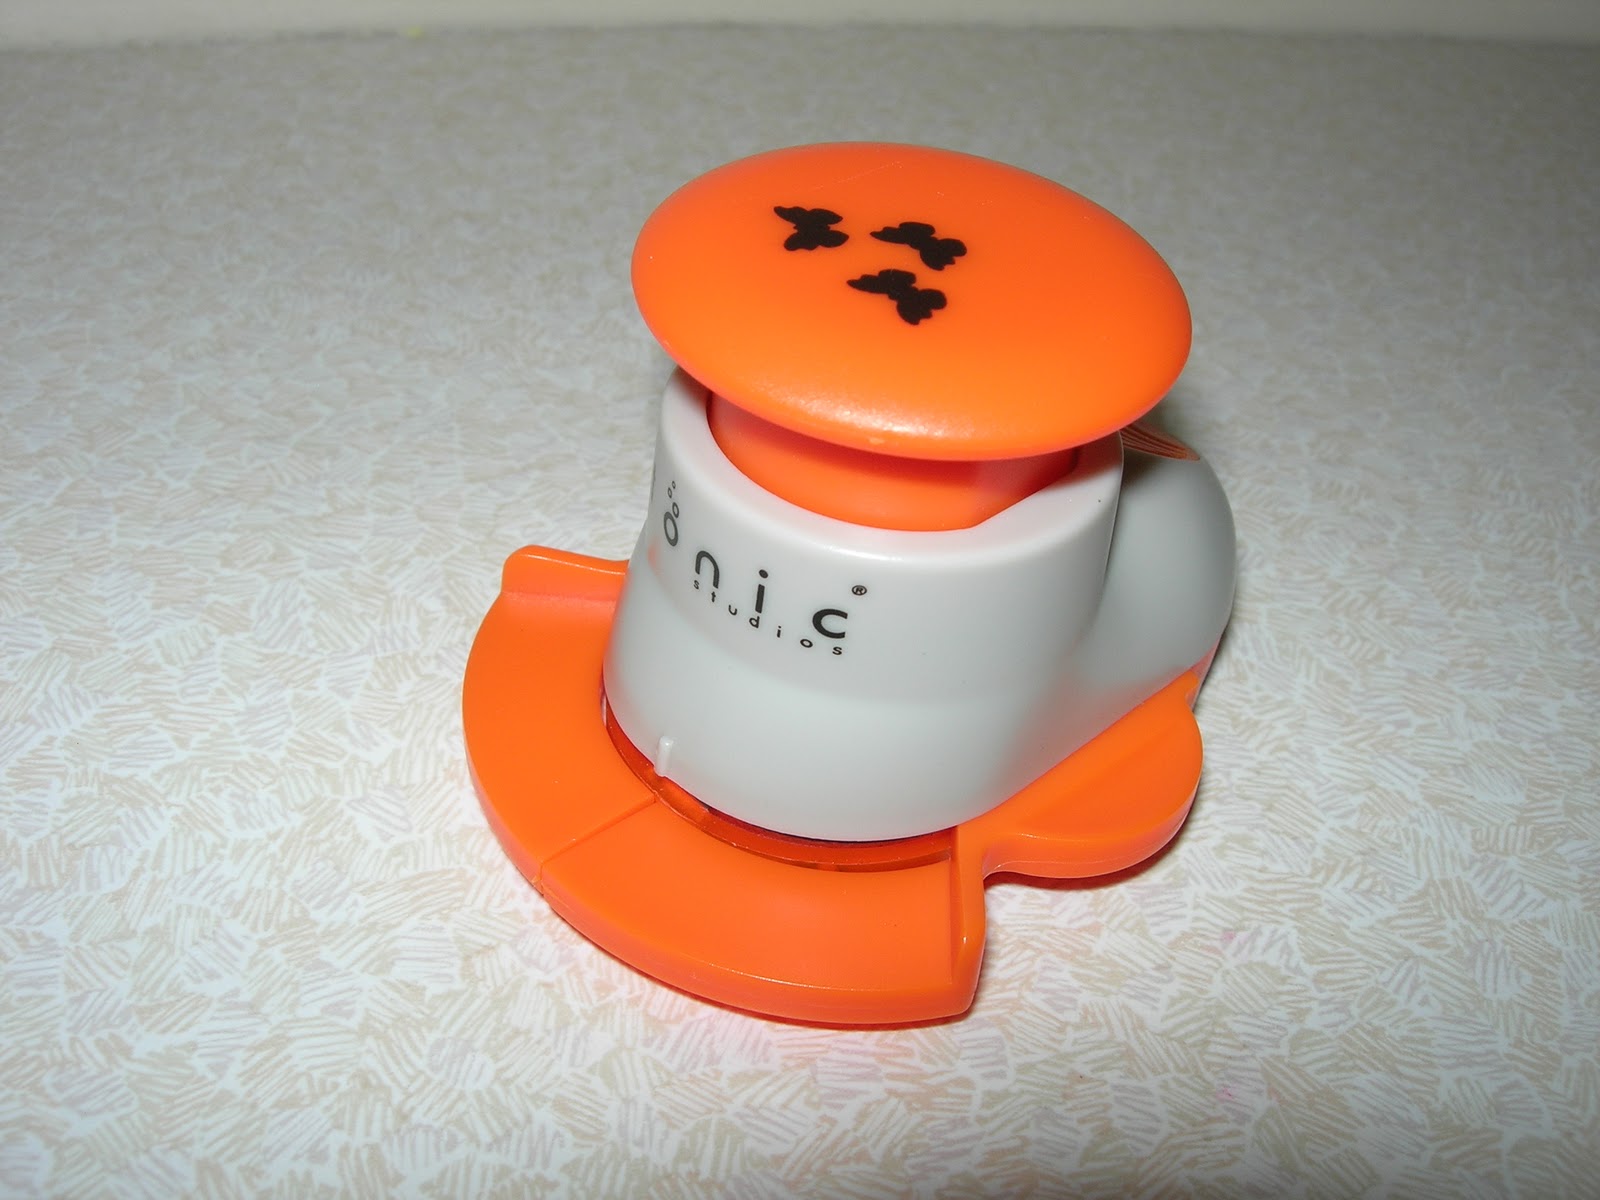
| 2. Place the circle into the punch as shown in the photo above. |
 |
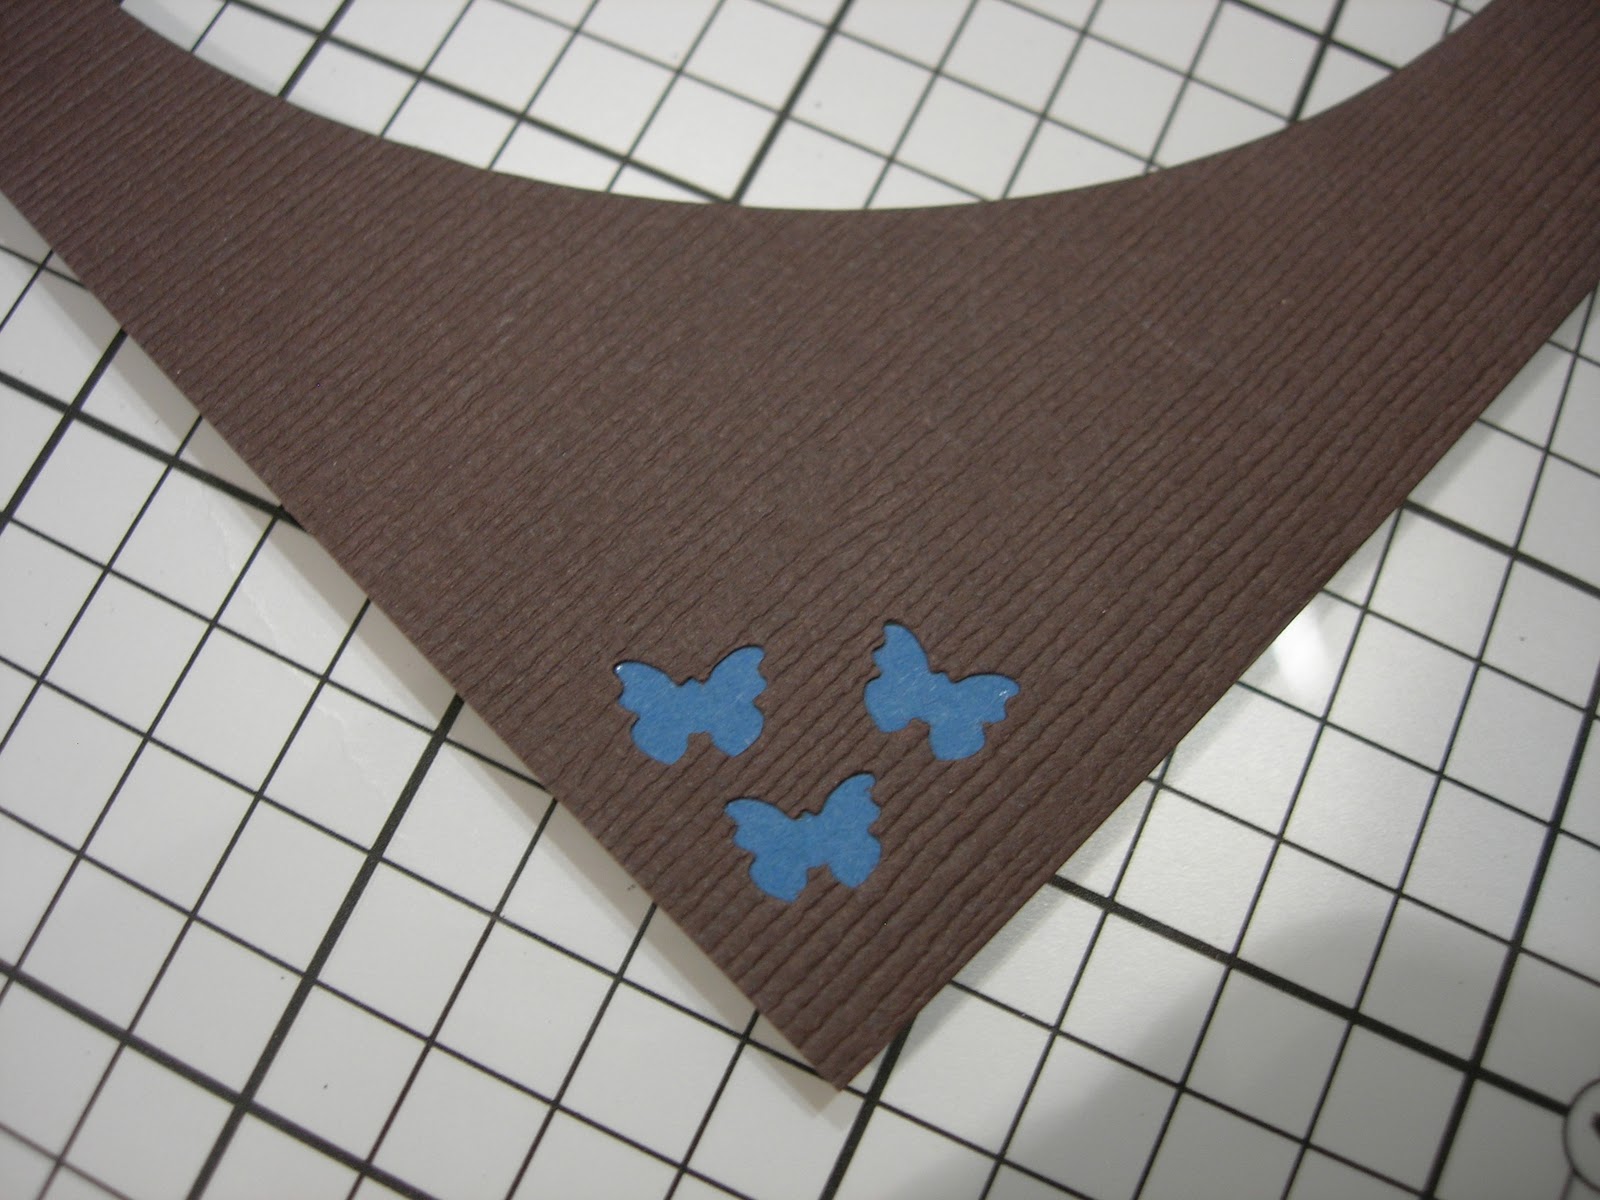
| 3. Turn the punch and card over together and line up the punch with the edge of the last punched shape on the top left corner leaving about 1mm of card showing. IT'S IMPORTANT TO TURN THE CARD AND PAPER TOGETHER TO KEEP THE PATTERN CORRECT!! |


 | ||||
| 4. Continue right round the circle in this way |
 |
| 5. The last piece to be punched will have a "space" at the top on both sides - this is correct for lining up. |
 |
| 6. This is the shape you'll be left with and you can use it like this or snip the butterfly circle from the scallops as I have done for my card. |

 |
| 7. I then added the Accent corner wings to my Accents Butterfly punch to decorate the corners of my background. |
 |
8. I added some contrasting cardstock behind the butterflies . |
DON'T FORGET TO SEE THIS POST FOR DETAILS OF MY DIGI GIVEAWAY.
Challenges
My Time to Craft ...punches and dies
Top Tip Tuesday ...layers
Ruth this is a fantastic card and awesome tutorial...so much detail. Thanks for the tips.
ReplyDeleteLovely card & excellent tutorial Ruth!
ReplyDeleteRoma :)
Fantastic tutorial Ruth, I just have to get my hands on the punches now! Your card is so beautiful too. Lee x
ReplyDeletewhat a fab idea Ruth. Well done for figuring that one out! :-)
ReplyDeletewhat a beautiful creation you have made and beautiful colors, I love it!
ReplyDeleteGreetings Baukje
Absolutely beautiful card Ruth,fab tutorial.
ReplyDeleteWendy xx
Hi Ruth, what a lovely card and great toturial. Thans for sharing hun! Hugs, Frea
ReplyDeleteA beautiful card, I love your tutorial on how to use an edger punch in a circle. Thanks for sharing. Glad you could join us on Top Tip Tuesday. Elaine
ReplyDeletestunning cad ruth.the butterfly and punched frame are gorgeous and i love your bold colours ;D
ReplyDeletexx coops xx
Very nice card, I love the butterfly circle and the touches on the corners. Thanks for joining us at Top Tip Tuesday!
ReplyDeleteThis is such a gorgeous card, great tutorial. Sorry it has been a while since I hvae been on your blog, it may be a little longer before I can start visiting reguarly.
ReplyDeleteWow Ruth, this is gorgeous, your tutorial is fantastic! and I love that butterfly.
ReplyDeleteMarjorie
xx
gorgeous thanks for the tutorial. Love the colours you have used. Alison xxx
ReplyDeleteThanks for sharing a great tutorial, brilliant idea for using the butterfly punch,
ReplyDeleteMargaret
How clever is that doily circle Ruth, wonderful thinking outside the box.
ReplyDeleteB x
This is absolutely stunning!
ReplyDeleteThank you for joining us at Top Tip Tuesday! Hope to see you again next week!
Hugs
Leanne xx
Lovely butterfly card. And wonderful tutorial. Thank you, Ruth.
ReplyDeleteFab creation. Thanks for joining MTTC. Good Luck. Hugs
ReplyDeleteBeautiful card and fab tutorial Ruth! I love the butterfly punch effect, so pretty! :) Love, Georgia xx
ReplyDeleteLove your cards a lot and thank you for visiting my blog .I hope you'll come again sometimes.
ReplyDeletekisses,aureliaeugenia
Lovely card! So, do you just experiment by trying different circle sizes for each border punch that you use for your punched circles or do you have the math equation that you use to figure it for each different punch? I've seen this type of thing done with corner punches before but never with the punches that do a straight border design. You must be a very patient person to work out the sizing. I don't have any Tonic punches... the ones you've used for your doily and this butterfly circle are lovely but it would be nice to know if there is a way of figuring the measurements for any punch or if it's always just trial and error until you find the right size circle for the specific punch.
ReplyDelete